
No grout, no landlord complaints, and no one will ever know you’re renting
Nothing dates a rental kitchen faster than that bare drywall or generic beige tile behind the stove. But ripping out a backsplash is absolutely not happening when you’re on a lease. The good news? The renter-friendly backsplash market has exploded in the last few years, and some of these options look so convincing that even your landlord might do a double-take at move-out. Here are 10 solutions that give you that full kitchen renovation look — without a single nail, drop of grout, or phone call to maintenance.
1. Peel-and-Stick Subway Tile
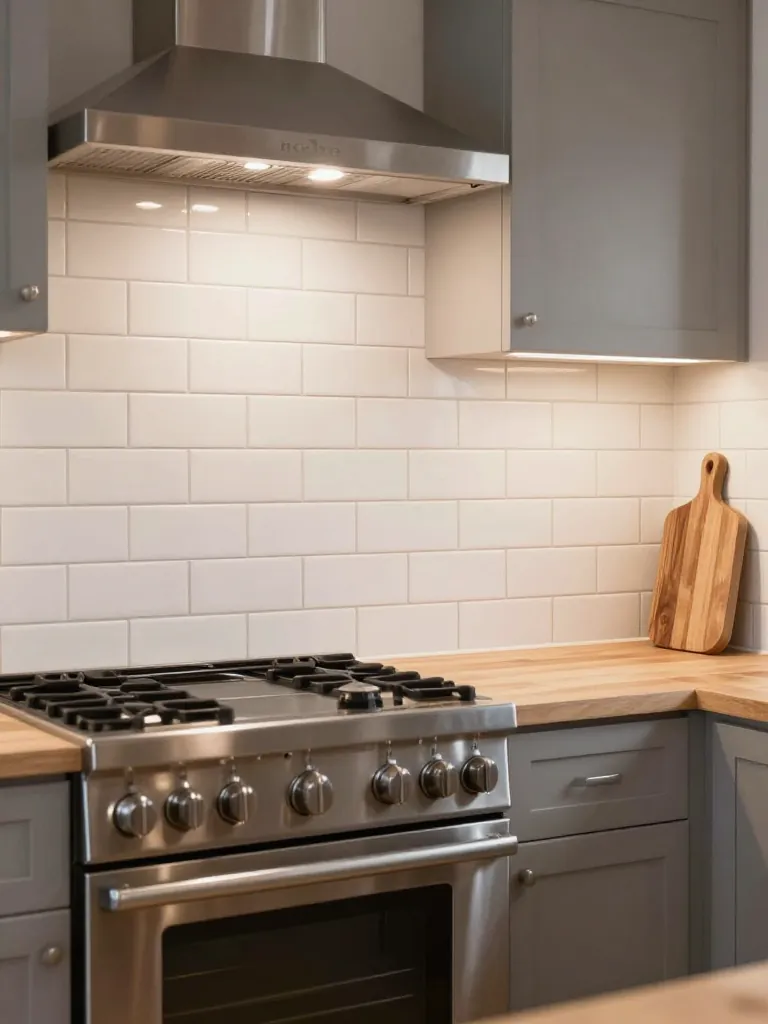
This is the one that started the whole renter backsplash revolution, and it’s still the best bang for your buck. Modern peel-and-stick subway tiles come in gel or vinyl versions with embossed texture that mimics real ceramic tile so closely your guests won’t touch it to check. The key is buying the thicker, textured versions — not the flat paper-thin decals. Brands like Tic Tac Tiles and Art3d have versions with real depth, slightly raised grout lines, and that classic 3×6 look. They cut with a utility knife, stick on like a giant sticker, and come off cleanly with a heat gun when you move. Apply over clean, smooth walls and you’re golden.
Install Time1–2 hours
Deposit RiskLow — heat gun removes cleanly
2. Vinyl Peel-and-Stick Backsplash Panels
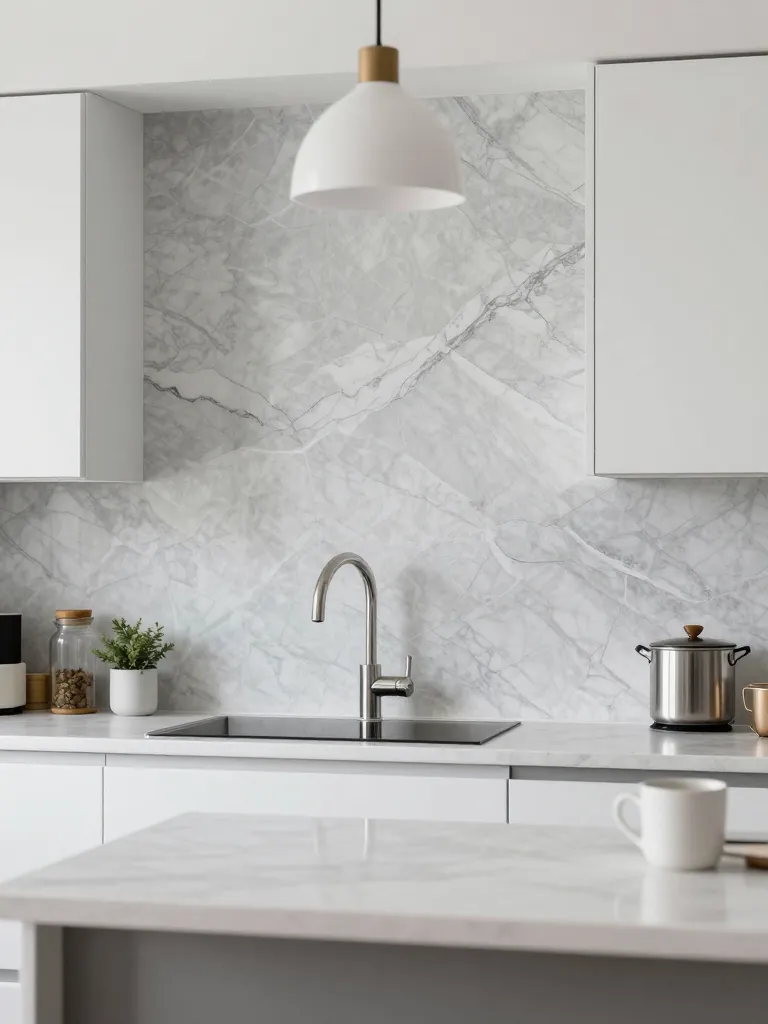
If subway tile isn’t your vibe, vinyl panels come in every pattern imaginable — marble, herringbone, Moroccan cement tile, geometric patterns, you name it. These are thicker than the thin tile stickers and have a more substantial, almost stone-like feel. The best ones are from brands like LaCheery and TicTacTile’s premium lines, which use a thicker PVC or vinyl composite that actually feels solid when you tap it. They’re waterproof, heat-resistant near the stove, and the adhesive is strong enough to stay put but gentle enough to peel off without taking paint with it. This is the move if you want a patterned backsplash without the commitment.
Install Time1–2 hours
Deposit RiskLow — peels off with heat
3. Temporary Wallpaper (Yes, as a Backsplash)
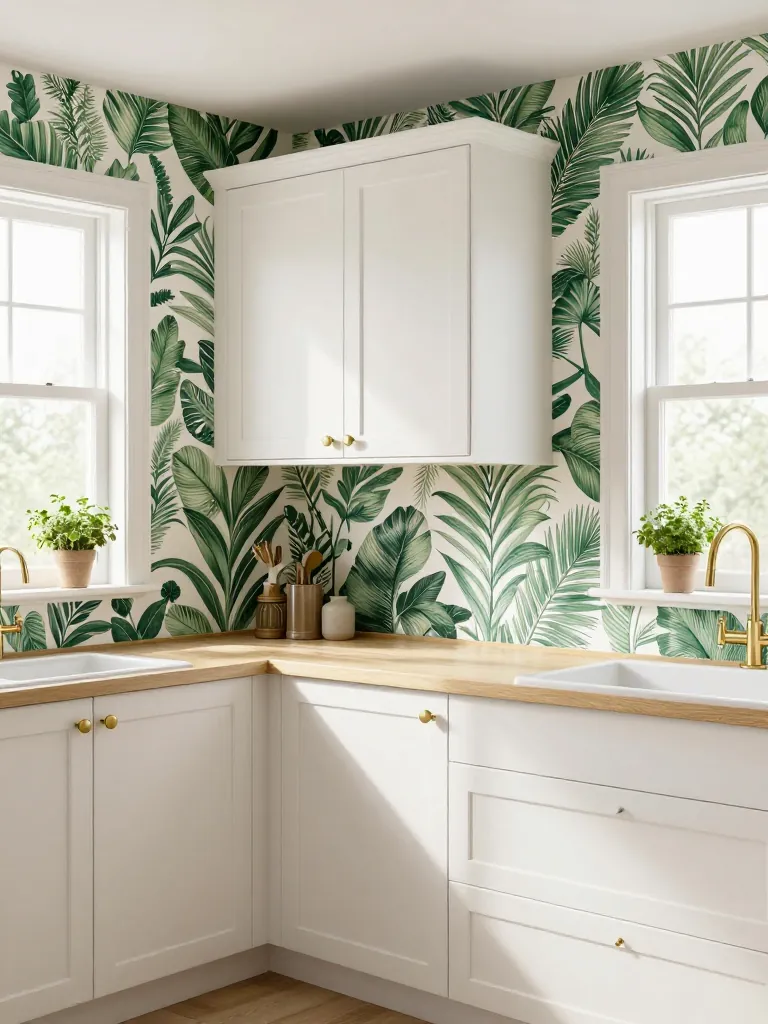
Temporary wallpaper has gotten ridiculously good, and using it as a backsplash is one of the most underrated rental hacks. Look for brands that specifically say “renter-friendly” or “removable” — Spoonflower, Chasing Paper, and Tempaper all make versions designed to come off cleanly. The trick is applying it to smooth, primed walls (not textured or freshly painted ones), and using a squeegee to eliminate bubbles. For extra protection near the stove, apply a clear peel-and-stick vinyl overlay on top. You get a completely custom, designer backsplash that reflects your actual personality — not your landlord’s taste from 2004.
Install Time2–3 hours
Deposit RiskMedium — test a small area first
4. Self-Adhesive Mosaic Tile Sheets
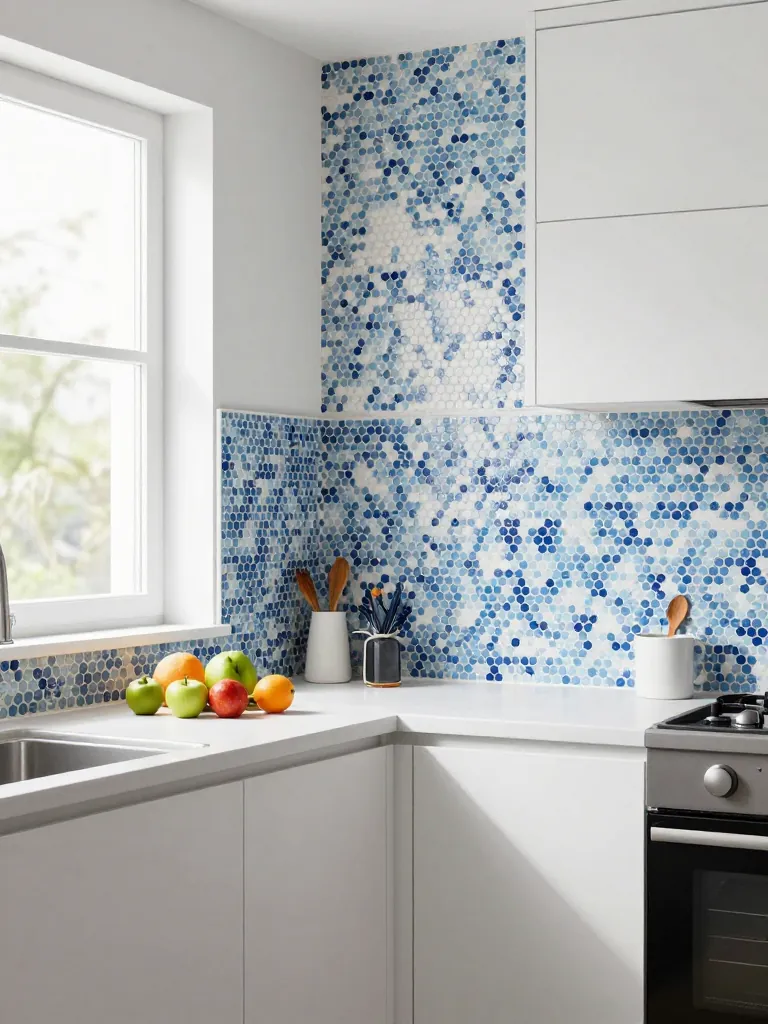
These are the closest thing to actual tile installation without actually tiling. Self-adhesive mosaic sheets come in small tile formats — hexagons, penny rounds, small squares — on a mesh backing that you press onto the wall. The tiles themselves are usually a mix of vinyl, PVC, or thin metal, and they have real texture and dimension. Some premium versions even have glass or metal tile inserts. They come in sheets about 12×12 inches, so you just peel, stick, and align the pattern. The gaps between the tiny tiles create the illusion of real grout lines. For a full kitchen backsplash, you’ll need about 8–12 sheets.
Install Time2–3 hours
Deposit RiskLow — removable with adhesive remover
5. Acrylic or Polycarbonate Splash Guards
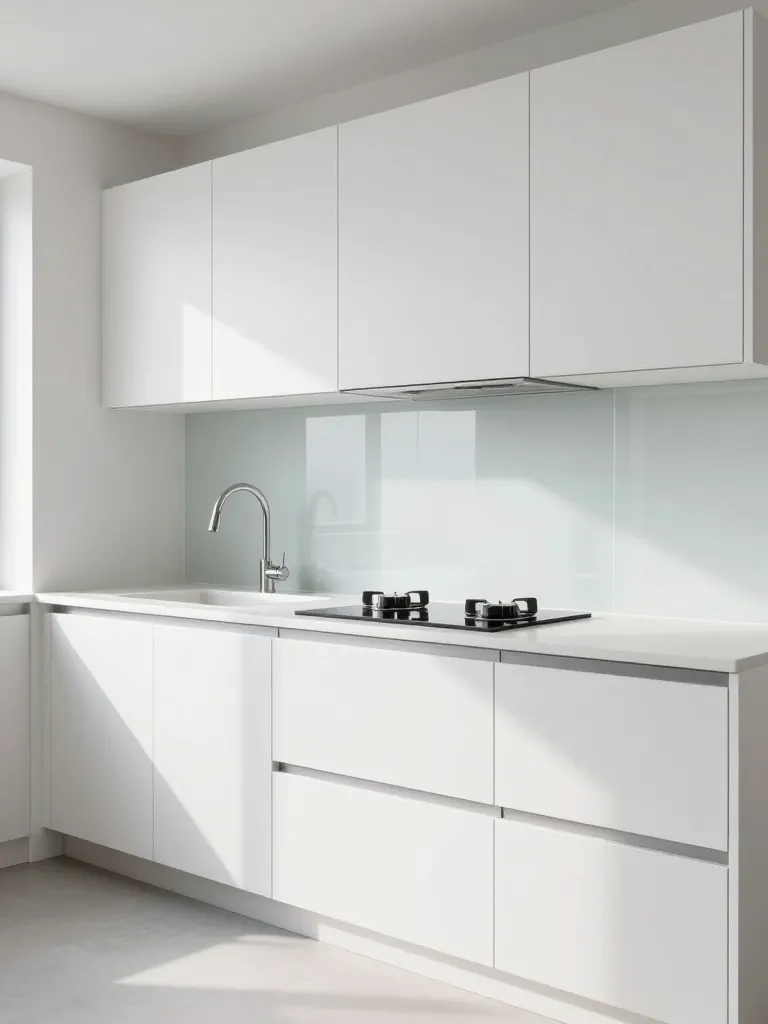
This one’s more utilitarian but wildly effective. Clear or frosted acrylic panels installed with adhesive strips or small screws create a clean, modern backsplash that protects the wall from splashes while looking intentional and high-end. Some renters paint the wall behind the panel first — a bold color or even a subtle stencil — and the acrylic acts like a frame, showcasing the color while protecting it. You can also apply decorative contact paper to the back of the panel before mounting for a layered effect. When it’s time to move, the panels come down, the few screw holes get patched, and that’s it.
Install Time30 minutes
Deposit RiskVery low — small screw holes or zero with adhesive
6. Contact Paper with a Tile or Stone Pattern
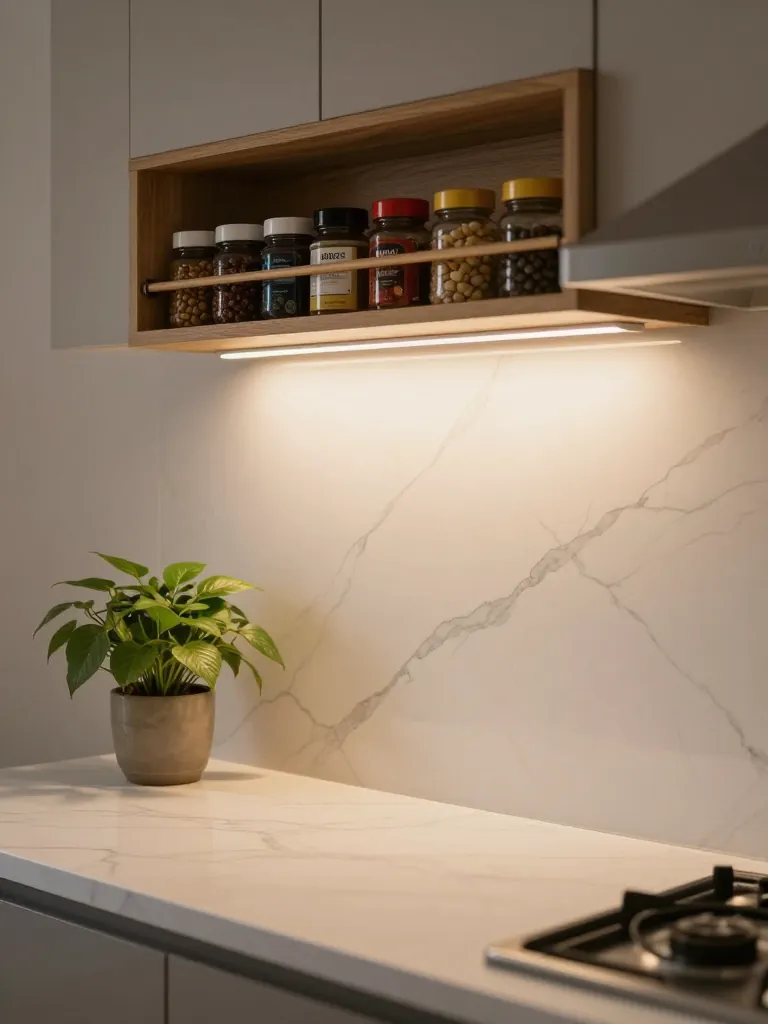
If peel-and-stick tiles feel like too much commitment or too much cutting, contact paper is the baby step. Modern contact paper comes in shockingly realistic patterns — white marble with grey veining, black granite, terrazzo, and even concrete. Apply it directly to the wall behind your counter, smooth it out with a credit card or squeegee, and trim the edges with a utility knife. It won’t have the texture of real tile, but from a few feet away, the visual effect is convincing. Best of all, it costs under $15 for enough to cover a standard backsplash area. Use it as a trial run before committing to a more permanent peel-and-stick option.
Install Time30–60 minutes
Deposit RiskVery low — peels right off
7. Pressed Tin or Metal Backsplash Panels
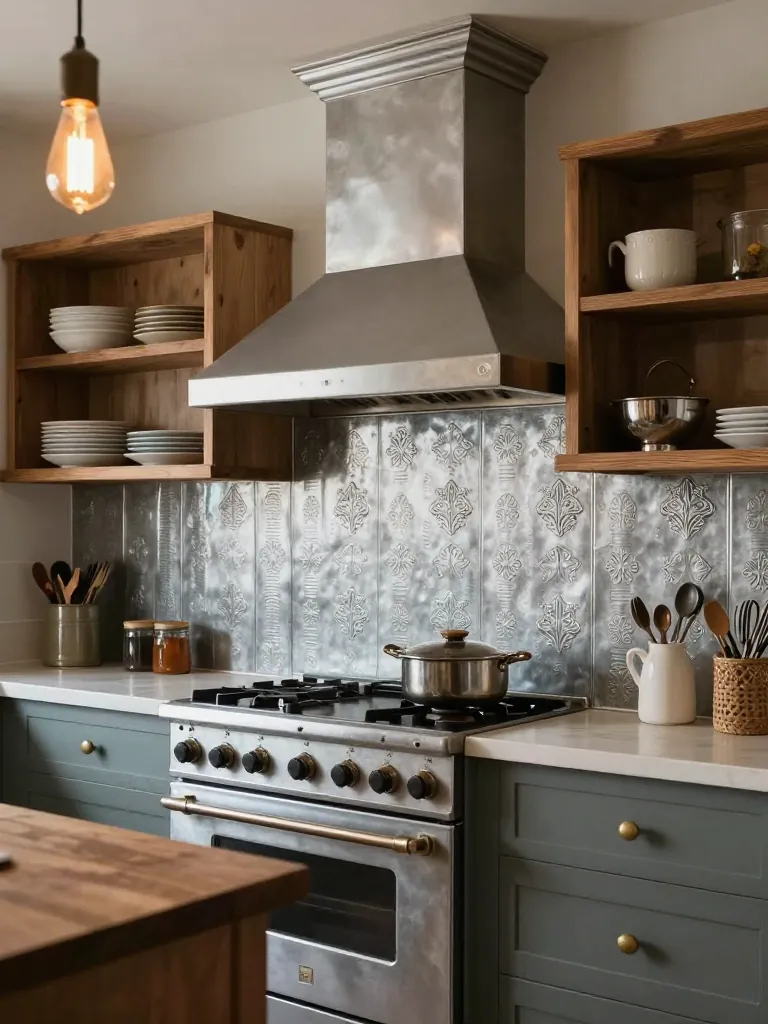
For a vintage or farmhouse look that nobody will guess is temporary, pressed tin-style panels are a stunning choice. These come in lightweight PVC or thin metal versions with adhesive backing — you literally peel and press them onto the wall. The embossed patterns (diamond, arabesque, classic tin ceiling) catch light beautifully and add dimension that flat tile stickers can’t match. PVC versions are lighter and easier to cut; metal versions look and feel more authentic. Either way, they transform a basic rental kitchen into something with serious character. Pair with warm lighting and open shelving for maximum effect.
Install Time2–3 hours
Deposit RiskLow — adhesive removes with heat
8. Large Format Tile Decals (Stick-On, Flat)
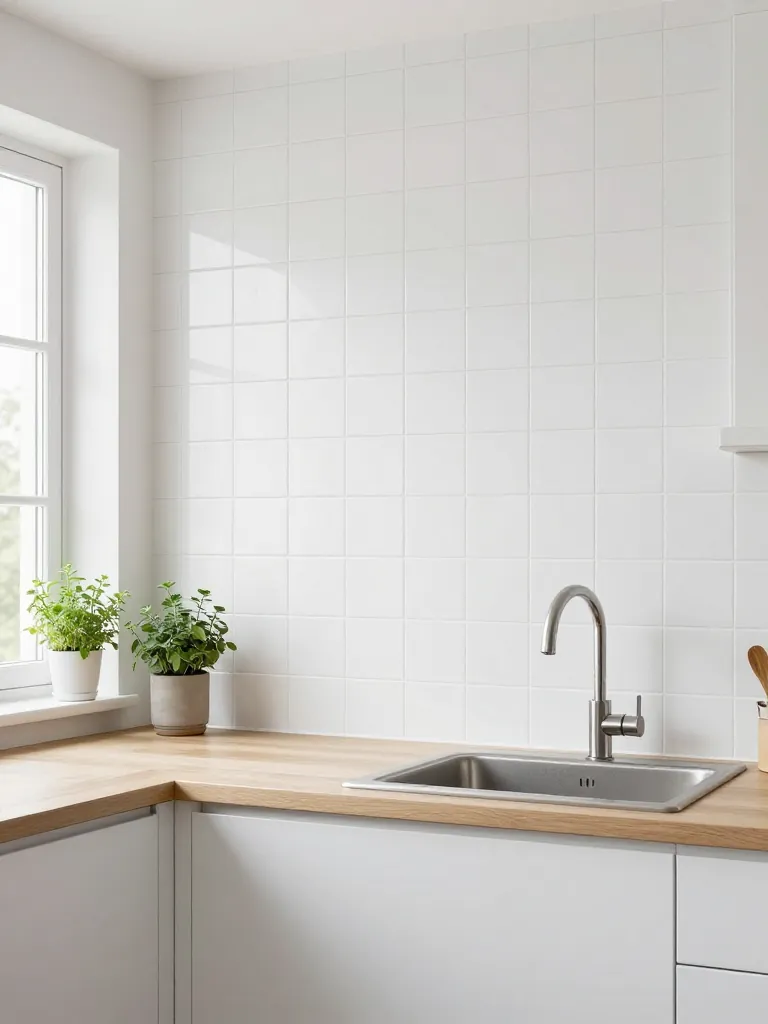
Not all tile decals are created equal. The cheap ones look like stickers. But the large-format, high-resolution tile decals from brands like Quadrostyle and The Lovely Wall are a different game entirely. They’re printed at photographic quality with shading and depth that mimics real ceramic tile from every angle. Some even come with separate grout-line decals for a layered, hyper-realistic look. Apply them to smooth walls, overlap the edges slightly, and trim with a sharp blade. The result is a clean, modern tile look that photographs beautifully and fools most people at first glance. They’re especially convincing in neutral colors like white, grey, or matte black.
Install Time1–2 hours
Deposit RiskVery low — designed to peel off
9. Chalkboard Paint Backsplash
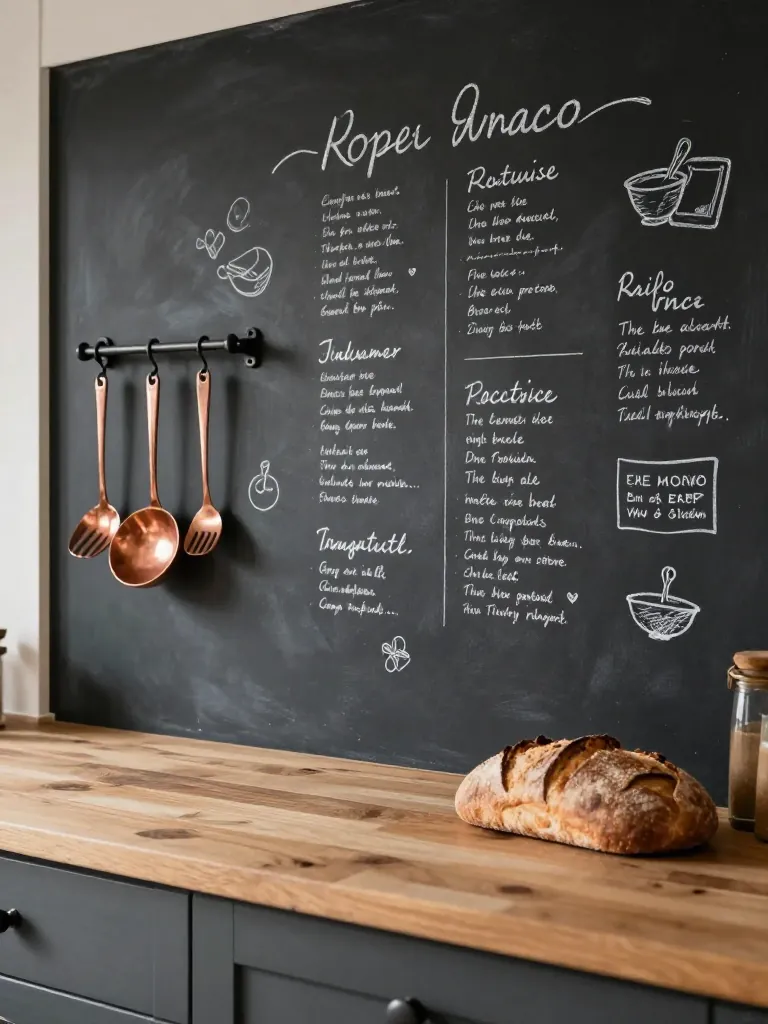
This one’s for the renters who want something completely unique. A chalkboard paint backsplash turns your kitchen wall into a functional, writeable surface — grocery lists, recipes, doodles, menus, whatever. Apply two coats of removable or low-VOC chalkboard paint to the area behind your counter, let it cure for a few days, and season it with chalk. The matte black or dark charcoal surface looks intentional and editorial, especially against white or light-colored cabinets. When you move out, most chalkboard paints are thin enough to paint over with a coat or two of the landlord’s wall color. It’s quirky, practical, and genuinely unlike anyone else’s kitchen.
Install Time1 hour + drying time
Deposit RiskMedium — may need a primer coat to cover
10. Fabric Backsplash with Liquid Starch
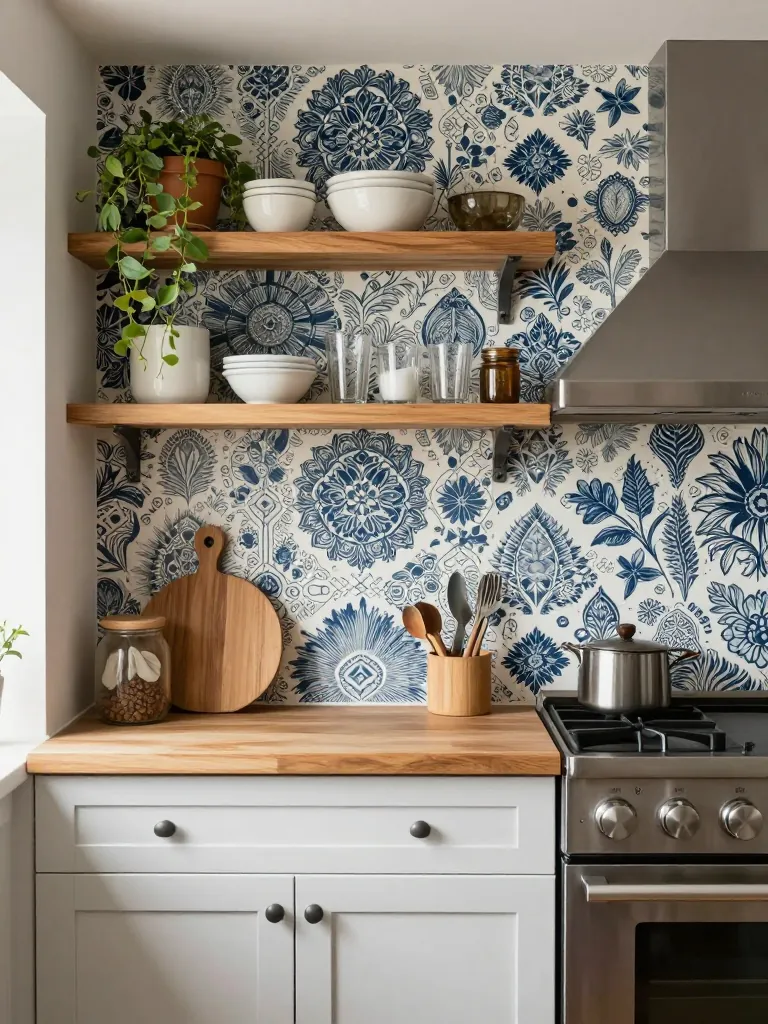
This is the sleeper hit that almost nobody talks about. Liquid starch lets you apply fabric directly to a wall — and when it dries, it holds tight but peels off cleanly with warm water. Cut a piece of fabric (cotton or linen works best) to fit your backsplash area, brush liquid starch onto the wall, press the fabric on, then brush another coat of starch over the top. Smooth out wrinkles with a squeegee. The fabric stays in place for months or even years, and when you’re done, you just soak it with a warm wet cloth and it slides right off. No residue, no damage. This opens up thousands of fabric patterns, colors, and textures that no peel-and-stick tile can match. It’s the most creative backsplash hack on this list.
Install Time1–2 hours
Deposit RiskZero — removes with warm water
Essential Tips for Renter-Friendly Backsplash Projects